Brewery Upgrade: HERMS System (Part 2)
The PID control box and temperature probe are ready (see part 1 here). The next jobs I need to complete are:
- Fit a heating element to the asparagus pot
- Make a copper pipe coil
- Install fittings for the pipe work
- Test everything!
So, next up is setting up the pot that’s going to hold my warm water and act as the heat exchanger. The parts I used are:
The steamer is basically just a stainless steel pot with a clear glass lid and a small basket which we won’t need:
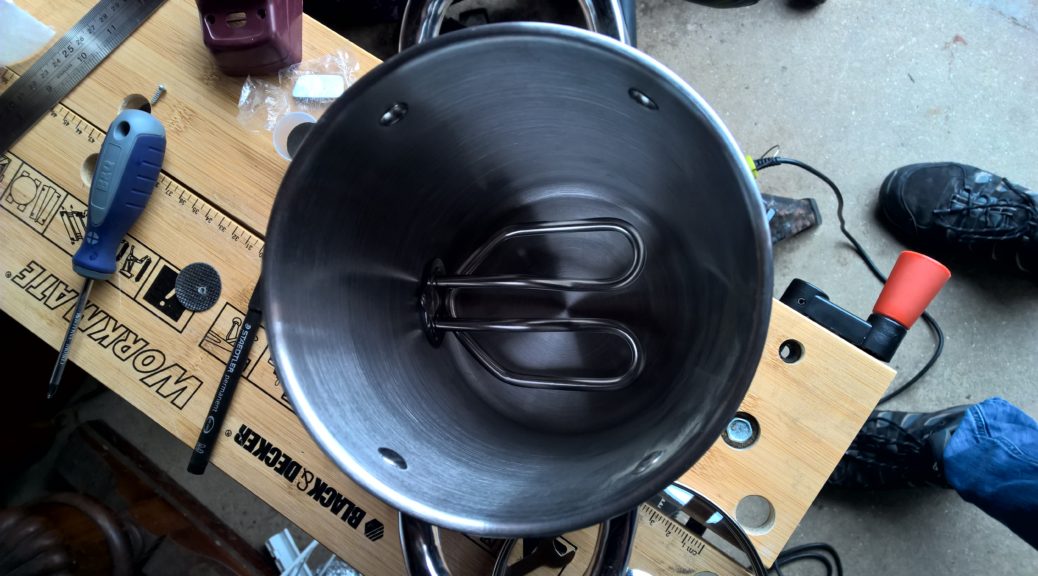
The kettle element needs an approx 40mm hole drilling in the side of the pot. I placed the element inside the pot, high enough so that it didn’t touch the bottom, and took a measurement to the top of the pot. I used this measurement on the outside to get an approximation of where the top of the element hole should be. The rubber ring seal that comes with the element was used as a template to draw the circle I needed to drill out.
It was at this point I realised the step drill bit I previously purchased was about 8mm too small! Nevertheless I pressed on… I worked out the centre of the circle I drew and using a small 4mm drill bit I quickly made a small hole. The 4mm bit was swapped out for the step drill bit and I proceeded to slowly expand the hole to the full bit size. As I was still 8mm short, I pulled out my dremmel and a cutting disc and proceeded to expand the hole further as neatly as possible.
Once the hole was big enough, it was a simple matter to fit the seal, element and power connector.
When it came to the leak test, I very quickly found the pot leaked no matter how loosely/tightly I fitted the power connector to the back of the element. A quick trip to a local DIY shop for some clear silicone sealant and I hoped I had a solution. It takes at least 24 hours for the sealant to cure, and a quick test the next day showed no further leaks!


